How to Change The Colour of Anything in Lightroom Classic!
As photographers, there are times when we need to change the colour of something, for example, a t-shirt that a subject was wearing, their shoes, lipstick colour, or even take down the redness of the ears in backlit image, or change the colour of a product.
Up until now, this was a job best handled by Photoshop, simply because it had more precise colour controls.
But then good ol’ Lightroom went and added a hue slider to the local adjustment tools, and (fanfare please) we can do these colour changes within Lightroom!
Watch the video below to see where to find this piece of editing magic, and how to use it. I’ve also used a few different images so you can see the different occasions you might want to use it too!
Useful Lightroom Tutorials & Resources to Check Out!
► Edit Like A Pro in Lightroom Classic
► How to Edit Photos in Lightroom

Where to find the local Hue Adjustment Slider
You can find the hue adjustment slider in the local adjustment tools - the brush tool, the radial filter and the graduated filter. The hue slider works the same in each of these tools, so you can simply choose the tool that makes the most sense based on the object you want to change the colour of!

How to Change Colours Using the Hue Slider
To use, simply select either the brush, radial filter or graduated slider local adjustment tool. For this example I’m going to be using the brush tool.
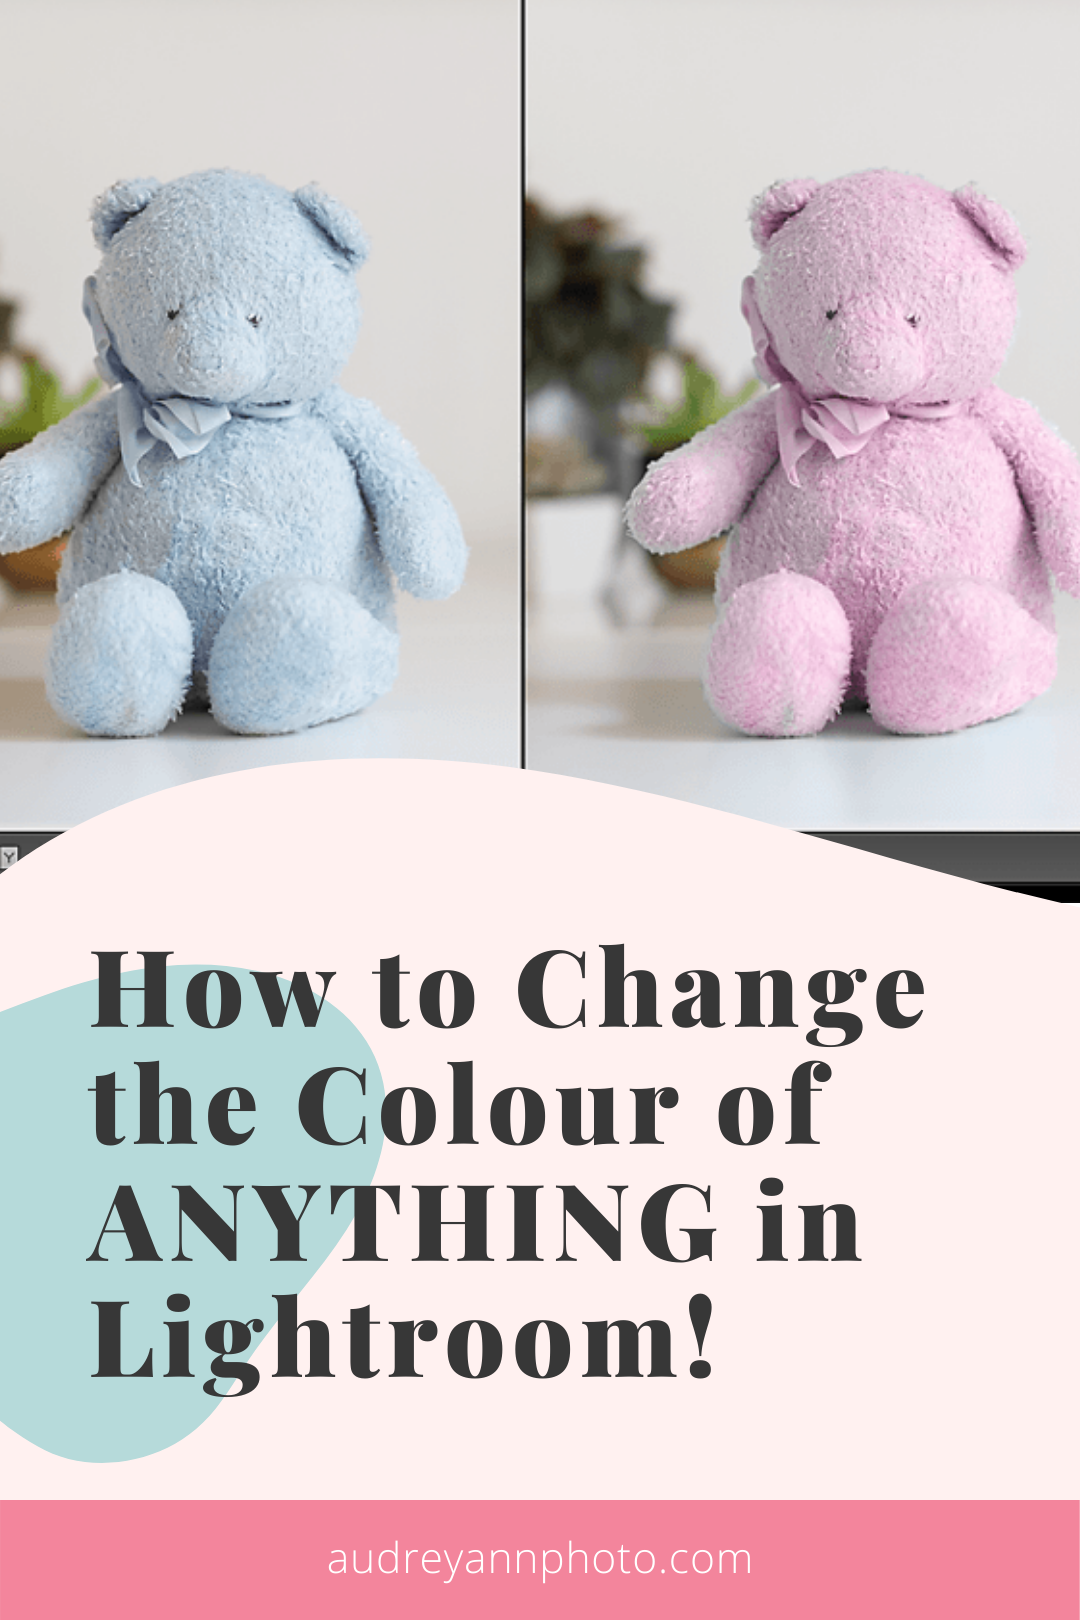
Simply brush over the object you wish to change the colour of, in this case, my blue teddy bear. I would recommend that you turn on the overlay feature so you can see where you are brushing - just press “O” on your computer keyboard to do this! This is what you are seeing below in red - the overlay, not the colour change :)

Once you have selected the area with the brush tool, press O again to get rid of the overlay, and then simply move the Hue slider to change the colour of the object!

Getting More Precise with the Hue Slider
Unless we are pretty precise with our brush work, there may be times when we would go over an area that we didn’t want included in our hue adjustment. In our example above, part of the plant pot in the back would have been included in this hue change because I brushed over it.
The first “fix” to that is to simply change our brush to “Erase” and then remove it from areas we didn’t want it applied to.
However, there is a faster way to do this, and that is to use the Range Mask tool. This allows us to tell Lightroom what colour range to adjust - and therefore which colours to leave alone. Simply click on where it says “Range Mask: Off” at the bottom of the adjustment panel and change it to colour.
Then pick up the dropper tool that appears and click on the colour you want to change (in this example, our blue bear)

Lightroom will then only adjust that blue colour, and if we happen to include something else (like the green plant in the background) it won’t change it’s hue.
And that’s it! A really simple and quick way of changing the colour of almost anything using Lightroom Classic.
Don’t forget you can watch our grab our FREE Lightroom Classic Starter Kit and get a guide to importing, a step by step editing checklist, and an exporting cheat sheet….all for free!
See you in there!
Audrey