How to Edit Photos in Lightroom Classic
Want to learn how to edit photos in Lightroom Classic? Then you are in the perfect place! In this post, I’m going to teach you how to edit your photos in Lightroom Classic like a pro, step by step.
The right editing is that extra ingredient that lifts your images from being good, decent, run of the mill photographs, and takes them onto next level, awe inspiring images.
It's the final step in creating beautiful photos that look professional and polished, and if you skip that step, or just slap on a preset (hello AUTO for editing!) your images simply aren't going to look half as good as they could.
Being able to look at your photo, see what it needs, and then know which tools to use to help bring your vision to life is such an important skill to learn if you want to take images that go beyond snapshots.
And that’s what we are going to cover today! There are 2 ways to enjoy this post - watch the video, or scroll down for written instructions.
Before we dig in,I just want to quickly let you know about an awesome freebie I have for you that you are going to LOVE! It’s my free Lightroom Starter Kit, and in it you get a little bit of everything - a guide to importing, a step by step editing checklist so you know what to do and when to do it, an editing cheat sheet and even some Lightroom presets! And did I mention it’s totally FREE?!
Here’s the links to the extra Lightroom tutorials we mention in the video:
>> The Ultimate Guide Cropping in Lightroom
>> How to Use Presets in Lightroom
>> Lightroom Export Settings for Instagram
Prefer to read? Then scroll down and learn how to edit your photos in Lightroom!
Importing Photos in Lightroom For Editing
Before you can begin editing your photos in Lightroom, you need to have them “in” Lightroom - and you do that by importing your images into the Lightroom Catalog.
To do this, you need to be in the Library Module. In that module, go over to the panel on the left hand side and click on Import, to open up the Import Dialogue box.
From the panel on the left, choose the location where your images currently are, for example, your memory card. In the middle section, select the images you want to import, and on the right hand side, select the destination, in other words, where you want Lightroom to save the images. There are other things you could (and should) do here, but let’s keep it simple for now, since we want to focus on the actual editing process! (Want to know more about organizing your photos in Lightroom Classic? Then check out our Get Organized In Lightroom Classic course which will lay the foundation for working in Lightroom Classic, by getting your folders and images organized so you always know where everything is, a system for maintaining your image files, and steps to help make sure you can find any image again, at any time!
Don’t forget you can also get a guide to importing in our FREE Lightroom Starter Kit.
How to Edit Photos in Lightroom
Once you have your images imported into Lightroom, you can then edit them!
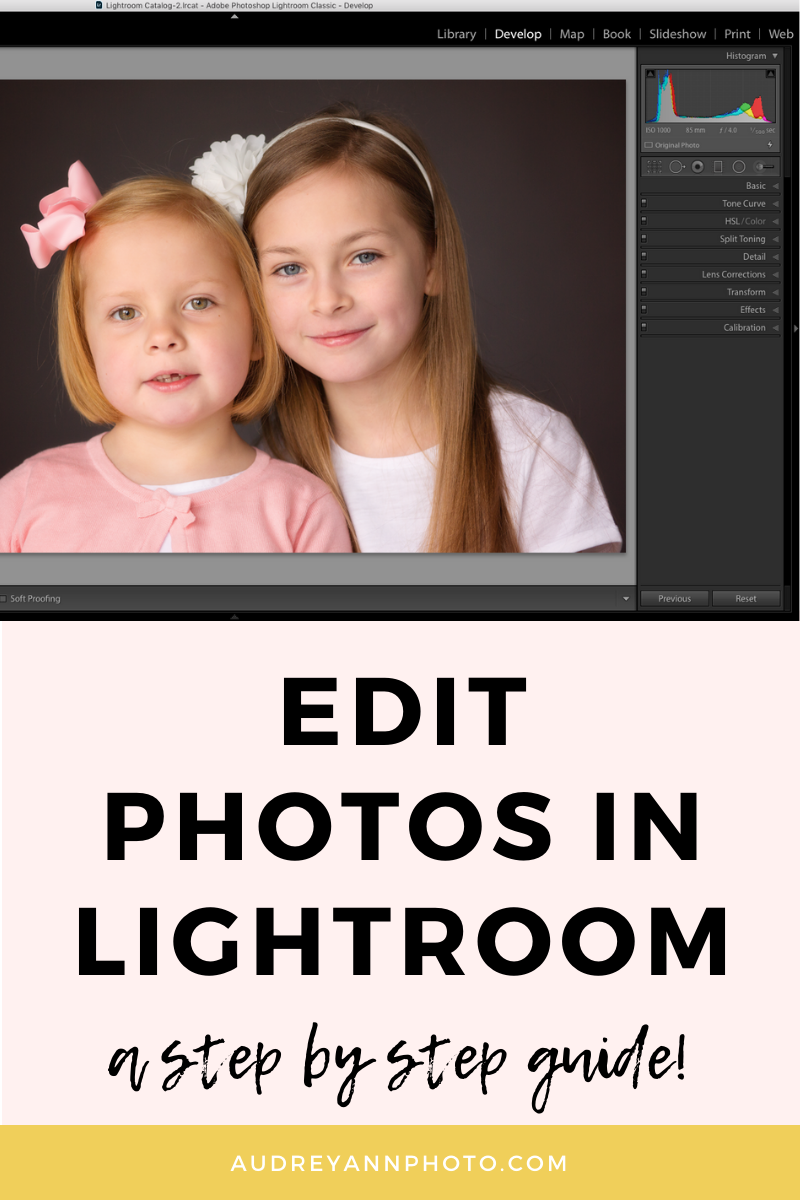
To do this, we need to move from the Library module into the Develop Module. Click on the Develop tab on the top right of the screen (just next to where you found the Library Module!) to open it up.
I know that when you first open up the Develop Module, it can seem intimidating as there are so many panels and sliders and options so it’s easy to get overwhelmed and feel like doing an about turn. But fear not, I’m here to walk you through it!
That panel on the right hand side of the screen is where all your editing tools are.
The left hand side is where you will find presets (not sure how to use Presets in Lightroom? Go here! ) and your history and snapshots panel.
The first thing to know is that editing in Lightroom is NON DESTRUCTIVE. Nothing is undoable, so you can always go back to a previous step, or right back to how the image was on import. This means you can totally have fun editing your photos in Lightroom, and not have to worry about accidentally saving over your image or ruining it for life :)
You can use the History panel to go back to a specific step, and you can create snapshots so you can easily go back to a specific state.
The second thing to know is what really helps here is to have an EDITING WORKFLOW for editing your photos in Lightroom, so that you aren’t reinventing the wheel the whole time.
A workflow sounds all fancy and complicated, but it’s not - it’s simply a series of steps that you work through on each image.
Now don’t get me wrong, that does NOT mean carrying out the same edits each time (that would be crazy, or like using the same preset on every image, which is not what we mean by editing)
It’s more that you are asking yourself a series of questions, in a specific order, and deciding whether that particular image needs that edit, and if so, how much.
(In our Edit Like A Pro in Lightroom Classic course, we give you all of these editing “questionnaires” to really help you be able to look at your photo and see what it needs, along with a full step by step editing process to follow)
For example, you will (probably) need to move the black and white slider on each photo, but the AMOUNT will be different for each one, and you will look at your photo and the histogram to see exactly how much to move the slider by as this will be different for each one.
You will look at the tones of the photo and see whether it’s a good candidate for black and white: for some it won’t, but others will cry out for it!
But you are making the same assessment, it’s just that the actual edits you do will be different. So, it’s all in order and it has a specific flow, but that doesn’t mean you do the same thing to each photo. Make sense?!
Global Clean, Global Creative and Local Edits
There are 3 main “phases” to editing photos in Lightroom - global clean adjustments, global “creative” adjustments and local adjustments - and we want to follow that order when editing.
Global CLEAN EDITING
These are adjustments that affect your entire photo, and give you a “clean” edit.
I like to think of this as getting the “perfect negative”, in other words, getting the photo to look the way I would have wanted it to look in camera!
The best place to start here is in the basic panel, as this is where you’ll find most of what you need, but you will also use the detail, lens correction and Transform panels here too. This is where you will:
Correct exposure
Correct white balance
Set overall contrast
Retain highlights / lighten shadows / darken shadows
Add secondary contrast
Add saturation / vibrancy
Add Noise Reduction & Sharpening
Make Lens Corrections
This first “phase” of editing is absolutely crucial as it lays the foundation for everything that comes after it, so don’t be tempted to skip this part to get to the “fun” stuff!
The important thing to note here is that we’re not guessing at this - there’s a framework you can use that tells you whether you have your white balance right, how much to move your sliders by, and more!
GLOBAL CREATIVE
The next stage is where we get creative with our edits, to enhance a mood or feeling, put our own style on our image, or add extra depth and dimension. Even if you like your photos “natural” you’ll probably still want to do some of the things here!
This will vary greatly from image to image, as each image is unique, but again, we don’t randomly do things here because we saw how to do something in a video, or in a preset - it’s about looking at your image and seeing what it needs to make it shine.
For some, this could be converting to black and white, for others, this might be adding split toning, or it could be changing or enhancing colours. As this is creative, it can’t be as prescriptive as your clean adjustments, but there are definitely questions you should be asking yourself that will help guide you to the correct edits to make!
The panels we are going to use here are the:
Tone Curve
HSL / Color
Split Toning
Effects
The important thing to note here is that these are global adjustments too - in other words, they affect the WHOLE image. So if you use the Split Toning to add warmth to the shadows, it will apply that to ALL the shadows in the image.
LOCAL ADJUSTMENTS
The final stage of editing photos in Lightroom is to carry out any local adjustments - this is where we further fine tune our image to pull our viewers eye around the frame, or lead it to what’s important. These are very targeted adjustments that only affect a small area of your image.
It’s also where we would carry out any portrait enhancements - things like smoothing skin, giving rosy cheeks, making eyes pop etc, and where we would tidy up the frame to get rid of any distractions.
You will find all your local adjustment tools in this toolbar just above the basic panel. Again, you might not use all of these, but this is where you will find:
The Adjustment Brush
The graduated filter
The Radial Filter
The crop tool
The Clone & Heal Tool
You can find a full tutorial on one step, cropping in Lightroom, right here!
After Editing Photos In Lightroom
Once you have finished editing your photos in the Develop module, it’s time to share those beautifully edited images with the world!
With Lightroom, your edits aren’t applied until you export the image, so that’s your next step! If you want more details on exporting, be sure to grab our free Lightroom Starter Kit but to keep this uber simple for now, simply right click on your image and choose Export from the list that pops up.
Fill in the dialogue box with your chosen settings and click on Export.
Your image is now ready to share with the world!
There you go - how to edit photos in Lightroom, stage by stage!
Finally, don’t forget to download that FREE Lightroom Starter Kit before you go and you’ll get that guide to importing, an editing checklist, exporting cheat sheet AND some free Lightroom presets!


