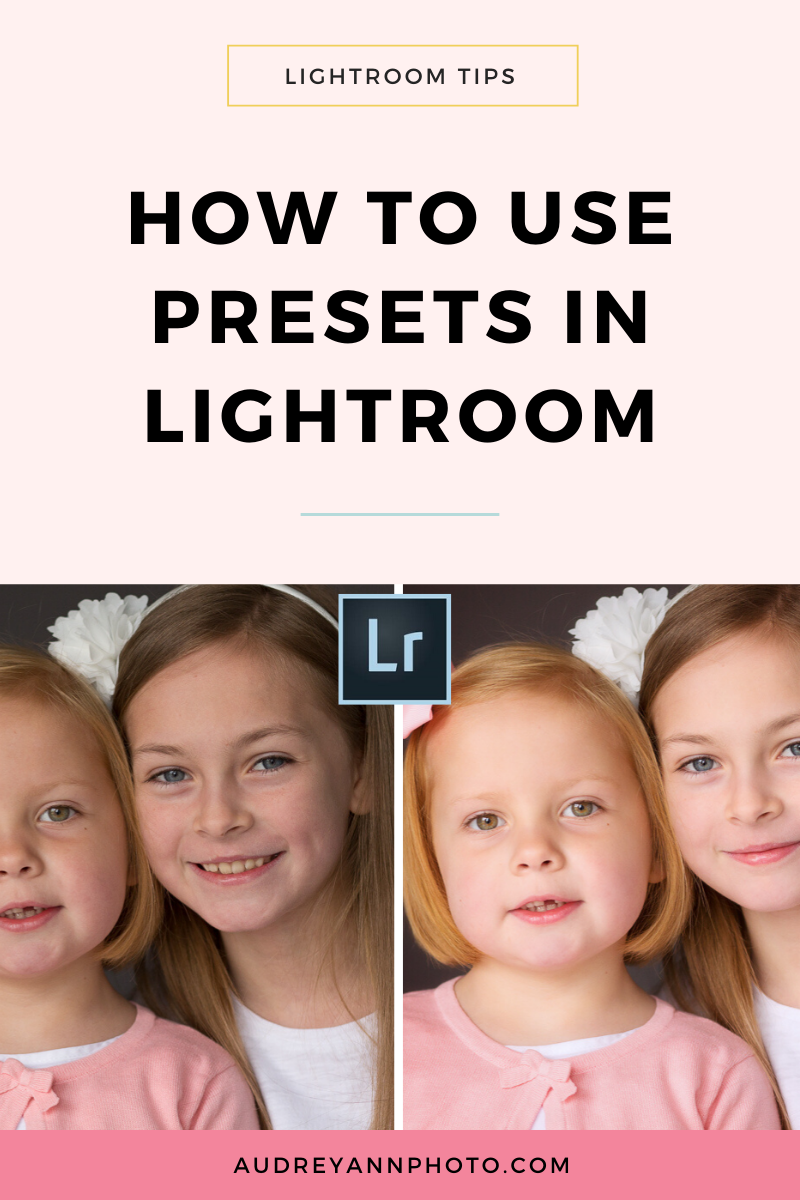
How to Use Presets in Lightroom Classic
Wondering how to use presets in Lightroom? In this post we're going to cover EVERYTHING - from where to find your Lightroom presets, how to use them, and most importantly, how to tweak them for best results.
Because whilst Lightroom presets are wonderful for speeding up your editing workflow, most of the time you're going to need to make adjustments to them. (Otherwise your images are going to look a little bit over done and overblown, and we don’t want that!)
As usual, you can either watch the video (HIGHLY recommended as it’s visual!) or you can scroll down to read the highlights!
Want some help with Lightroom Classic? Then grab our FREE Lightroom Classic Starter Kit and get a guide to importing, a step by step editing checklist, and an exporting cheat sheet….all for free!
What is a Lightroom Preset?
A preset is simply an edit that has been recorded so that you can apply those exact same steps to absolutely any image you wish, with one click of your mouse. So this can, as you can imagine, save you a lot of time processing your images as you just click on the preset.
Lightroom is then going to run through that prerecorded editing steps and apply that to your image. So it can be a really quick way of speeding up your workflow.
Where can find my Lightroom presets?
Go to the develop module, then the panel on the left hand side, and you'll see this section called presets. Just click on that triangle to the left of it, and that is going to open up your presets. This is where you will find any presets that you have installed.
Now Lightroom does come with some presets already built in, so you can use those (but they aren’t great!) and you can also purchase presets on the web, plus you can get free Lightroom presets.
Now we've actually given you some free presets to get started with! You can get them as part of our Lightroom Starter Kit.
How do I install my Lightroom Presets?
Now I won't show you how to install these, but only because we have another video dedicated to this! You can watch it below.
How Do I Use My Lightroom Presets?
If your presets were in folders, you're going to see this here in a folder. So if I just click on that a little triangle to the side, you can see that those open up with all the different presets inside that folder.
Now to use your preset, you first must choose which preset is going to look best on your image, and if you actually just run your mouse over these presets, you'll see that you get a preview of how that's going to look up here on the image on the top left and in the main image.
You'll see the slight differences with each presets, as each one to give a slightly different look, so you can actually choose which of these best suits your image for your starting point.
To run that preset on your image, all you need to do is click on it and that's actually going to start running that preset. Now that all happens pretty much instantaneously.
If you just at the panels over here on the right hand side, in this case the basic panel, you'll see that all of these used to be at zero have now been moved. That's basically Lightroom running through that prerecorded editing steps!
Tweaking a Lightroom Preset
Now, sometimes your image will look good just right off the bat after applying the preset, but most of the time it won't. And you're going to need to tweak that Lightroom preset!
So the first thing to note is not all presets are going to suit all images. That's just the way it goes. You can go through the other presets you have and see if something else suits your image best. But most of the time a preset will work perfectly well, but it's just that you need to adjust it to suit that particular image.
Now, I'm not going to lie at this point, knowing how to edit within Lightroom is going to be quite important because it will give you a much better idea of what changes a preset has made and what you need to do to alter it. (If you want a full editing framework to follow, step by step, check out our Edit Like A Pro in Lightroom Classic course!)
I would also recommend the up here in the histogram area here that you turn on these boxes. So you can see if I click on each one, it doesn't have that white box around it to click on that. And that will turn on your highlight and shadow warnings. And you can see if a preset has blown any highlights or the blacks.
Your preset will make changes in the basic panel, but it will probably also have made changes here in the tone curve, in the black and white section, possibly the split toning down in the detail section, Lens corrections, and so on. So you can go into each of these and make further adjustments.
Whatever you do, don't make the mistake of thinking a preset is all your editing work! It's not :)
You're going to have to go in and tweak every single preset, AND probably do some further editing. A preset isn't your complete edit, not by a long shot. It's just starting you off and doing some of the bulk of the editing work for you quickly, but you'll still need to go in and make further adjustments to have the image look as good as it could.
Ugh! I hate what the preset has done!
Now if you really don't like what's happened to your image with running that preset and you want to start again then you absolutely can! Just down here at the bottom of the panel on the right hand side, you can just go and click that reset button and it's going to take you back to how the image was in camera.
I should also point out here that most presets will leave your white balance alone and your exposure alone as they are unique to every image. So do make sure that you then tweak your white balance and your exposure to make them correct. And you'll do that on all your images"!
How to Create Your Own Lightroom Presets
Now I find it's better to create your own, or tweak an existing preset and then save that so that you've got your own editing style saved.
So if you have a set of editing steps you go through time and time again, I consider making a preset for them. Even if he just like the way a particular edit has turned that make a preset, and you can apply that to other images.
To do that, grab an unedited, straight out of camera image, and play around with the sliders in the Develop Module until you get a look you want. Alternatively, just add in some basic adjustments that you do to most images, for example, adding contrast and vibrance. You can make adjustments to ALL the panels, such as the Basic Panel, Split Toning, Tone Curve, Detail and Lens Corrections Panels, and the preset will save them all if that is what you want - you can choose which settings to save in the next step.
So once you've got the sliders, you way that you want them, then go back over to this panel on the left hand side and then just click on this plus button that you'll see here just next where it says preset.
So I'm going to click on that and you would click on create preset. Now, this is where you can choose which of these adjustments to save in your preset.
Now I do recommend that you don't save the white balance and you don't save the exposure because that is definitely unique to each and every image. If you have done any things like transforming your image or something along those lines that you don't want to be saved, then you can just uncheck it.
So just go through and make sure that you want to save all of these elements in to your preset that you're going to save. And if you don't, you uncheck them.
And then when you are happy, give that a preset name, and then you would just click create.
Let’s make it actionable!
If you’ve been here a while, you’ll know that I always recommend taking action on what you read, so today, I want you to spend a little time practicing with your presets.
Also, don’t forget to go here and download the FREE Lightroom Starter Kit, where you can grab that editing checklist to see what your preset might be doing! Then make sure to spend some time just tweaking them and getting the image to your liking. Remember, if you don't like what happens, you can just click on reset.
Remember with Lightroom Classic, it's non-destructive editor. It means that these settings aren't really applied to your image until you export it, which in turn means that you can play to your heart's content!
Don’t forget to check out Edit Like A Pro in Lightroom Classic for more information on how to actually edit your photos too!


