How to Create Your Own Easy Lightroom Workflow Routine (and stick to it)
Have you ever found yourself sat at your computer wondering exactly WHERE an image that you’ve taken is?
Or why you seem to have about 5 different copies of the same file kicking about?
Or maybe you’re more concerned by the fact that you’ve been looking at your image for the last ten minutes wondering exactly what adjustments you should be making?
Whether you’ve done enough? Or gone too far?
If that’s you, then a) you are not alone and b) the chances are you’re missing something incredibly crucial - a Lightroom workflow.
For photographers, the taking of the image is only the beginning. You then need to transfer them to your computer, back them up, edit them, and get these into a form where they can be used, viewed and shared.
Without a workflow in place, you’ll be doing different things at different times, which leads to images being scattered around in 5 different locations, all with different file names (or helpfully called IMG2068.CR2), and all with different editing styles applied.
The key to not getting into this mess is to get yourself an efficient workflow, so you’ll always know exactly what to do, when to do it, and how to keep it the same each time.
What is an Lightroom workflow exactly?
A Lightroom workflow is simply a series of steps that you go through when you import and edit your photos - one that takes you from having a RAW, unedited, uncategorized image into a final, polished image that you can share with the world (and find again when you need it)
With a Lightroom workflow in place, every time you import an image into Lightroom, you will work through the same series of actions until you reach a point where you have gone through them all, and therefore can consider that particular image “finished”
That’s not to say that you take the exact same editing steps with each image (as every image is different and will require different types and amounts of processing) but you are almost going through and asking yourself “does this image need this?” and then “Does this image need that?” as you go through your workflow.


What’s the benefit to having a Lightroom Workflow?
There are so MANY benefits to having a proper Lightroom workflow, such as:
Your image collection will feel under control, as you won’t have files scattered about in ten different locations, or with 20 different naming variations, or end up with three duplicates of the same file.
You won’t be in danger of losing all your precious memories, because you’ll have a simple and efficient back up system in place.
You’ll be able to find images quicker, so you never have to wonder where an image is again.
Your images will look better, because you’ll know exactly what editing steps you should be taking, instead of simply guessing at it, or following a random tutorial online and hoping it will work on your image.
Your images will have a more consistent look, as you’ll no longer be applying random adjustments.
And finally, you’ll save yourself hours and hours each month, because you won’t have to re-invent the wheel every single time you upload a photo.
So although it can take a little time to get your Lightroom workflow up and running, it’s SO incredibly worth it, as it will pay you back tenfold every single time you edit a photo (which let’s face it, over the years, that will be a LOT!)
To help you with this, I’ve got an extra special freebie to go along with this post ,our FREE Lightroom Classic Starter Kit where you can get a guide to importing, a step by step editing checklist, and an exporting cheat sheet….all for free!

What’s included in a Lightroom Workflow?
Everyone’s workflow can be different - if you are a hobbyist shooting your own family, you will have a different workflow than if you were a high-society wedding photographer.
But although the steps and actions may be different, the basic workflow is pretty much the same for everyone. Let me run through the basics with you now….
Step One: Import
The first step in your Lightroom Workflow is get your images off your memory card and onto your computer or hard-drive. You can copy the files first, then import into Lightroom, but it’s much quicker just to use Lightroom to copy and import in one step.
STEP TWO: ORGANISE
Once you have your images on your drive and imported into Lightroom, the next step is to cull, sort and rate your images. So you are going to go through and see which ones you want to delete, which ones you want to edit, and maybe even which ones are going to go into gallery (although you may want to do this after you’ve edited them - remember it’s your workflow!)
It's also a good idea to keyword your photos at this point too so that you can easily find the images again at a later date.
We go deep into this entire process in Get Organized In Lightroom Classic, as you really can do SO much here that will help save you time further down the road, and make sure that you can find your images again at the touch of a button.
One thing I want to say here is to make sure that you are following a system that works for what you want to shoot, and what type of photographer you are.
I got myself into a HUGE mess with Lightroom thanks to following a free tutorial on getting organised in Lightroom that was better suited to a large scale wedding photographer, than me, a hobbyist. That’s why Get Organized In Lightroom Classic is aimed at hobbyists or one-man/woman businesses, so that you can create a workflow that is best suited to you.

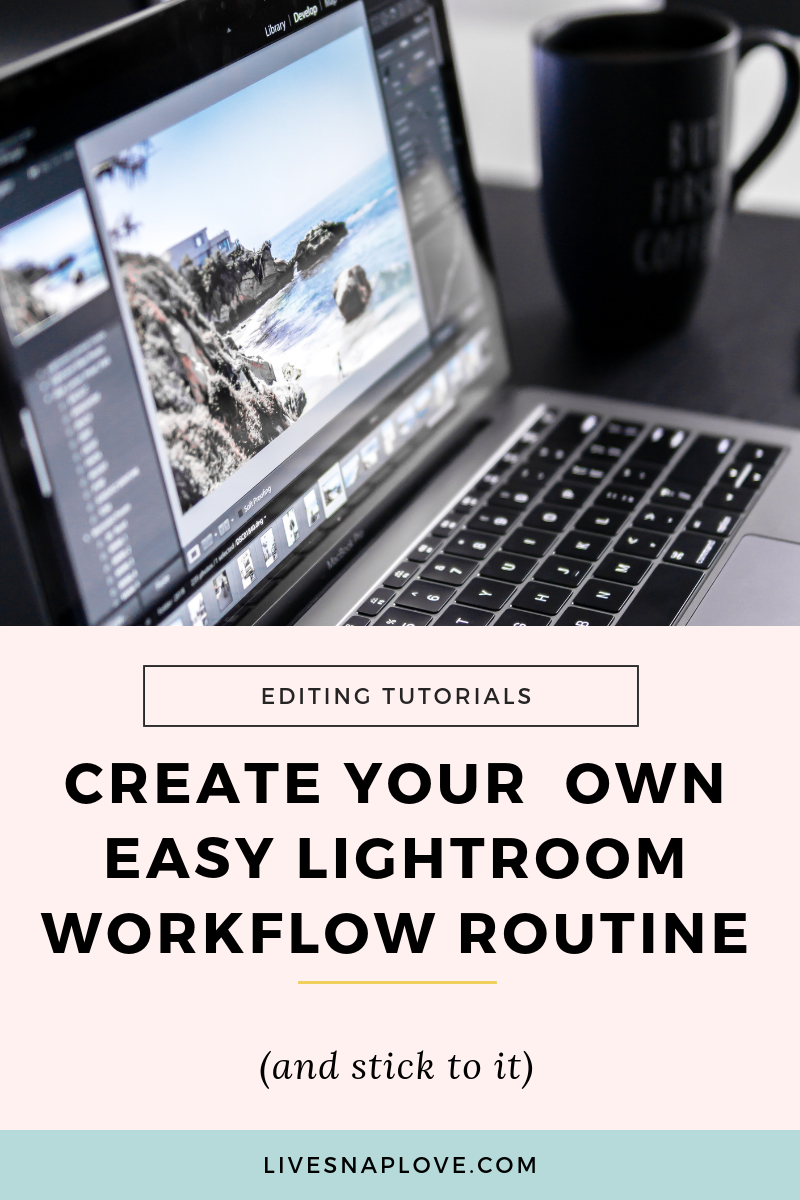
STEP THREE: DEVELOP
Once you are all organised, you can then move from the Library Module, over to the Develop module. This is where you are going to be apply a number of editing steps to your images.
We teach you a full editing framework in Edit Like A Pro in Lightroom Classic so you’ll never have to wonder what you should be doing next, but I’m given you a quick run through below.
Again, this will change depending on the image, but you can still go through the steps, making the necessary (but different) adjustments for each one.
So, you’ll make global adjustments such as:
white balance
exposure
shadows
whites
blacks
highlights
contrast
noise reduction
saturation/ vibrance
cropping and straightening
You can then move onto more artistic edits, such as:
Vignettes
Color Toning
Blurring the background
Black and white
Colour enhancement
Sun flares
etc etc etc!
Before finally carrying out your local adjustments such as:
enhancing individual colours
dodging and burning
portrait enhancement.
And so on!
If you are new to photography then that list might scare you a little bit, but I promise, once you have had someone showing you not only how to the use the different editing sections and sliders, but also WHY you might want to use them on a photo (and by how much) it does become a LOT easier.
We give you a full editing checklist in our Lightroom Classic Starter Kit, so be sure to grab that too!
In some cases, you might want to take an image into Photoshop - if so, this is where you would do it! (Not sure when you should be using Lightroom and when you should be using Photoshop? Read this!)

STEP FOUR: PREPARE FOR OUTPUT
With Lightroom, none of your edits are applied until you export the image, so your next step is to prepare the finished file for use.
This could take many forms - you might want to use it in a photo book (you can do this directly within Lightroom if you wish) you might want to share to Instagram or Flickr (ditto) or send to the printers, or share on your blog.
STEP Five: back up
SO freakin’ important.
If you only ever have one copy of your files, then if that hard drive were to crash, or that file to become corrupted, you’ve lost your photo for good.
That’s why you always want to back up your image files. For super important photos, or if you are a professional photographer, you may want to do this twice - once at the beginning of your workflow with the originals, and once again at the end with the finished product.
For my hobbyist photos that are more of day to day life that I wouldn’t be devasted about losing, I do this just once, at the end of the workflow. If it were once-in-a-lifetime photos, or for a paid shoot, I’d do it at the beginning too with the originals.
Ideally you want to to have THREE copies of your file - the master file, a copy of the master file stored locally, and another copy far far away in a separate location.
You also want to back up your Lightroom catalog pretty darn regularly too!
What to do now…
If you want a ridiculously easy to follow, step by step framework to follow for using Lightroom Classic, from start to finish, be sure to check out my two programs on Lightroom Classic: Edit Like A Pro in Lightroom Classic and Get Organized In Lightroom Classic.
Or, if you just want a little taster before you dive in, then grab our FREE Lightroom Classic Starter Kit and get a guide to importing, a step by step editing checklist, and an exporting cheat sheet….all for free!