
My 4 Step Process for Culling Photos With Intention

Today on the podcast I’m answering a question that was asked during the live Q&A call that we had a couple of weeks ago inside our student community “The Insiders Club”, all about how to decide which photos to keep, and which you can get rid of!
If you’ve been having trouble overshooting, and drowning with the amount of photos you’re holding onto, you’re going to love this podcast episode!

Before I dive in I do want to quickly remind you about the Live Snap Love Insiders Club, our Facebook Community that is exclusively for Live Snap Love students.
It’s a great place to meet other people who are on the same journey as you, and make new friends from around the globe. It’s also a wonderfully warm and supportive community, so it’s a fantastic place to share your photos with others - in fact, twice a month we post a prompt for a photo that you can go out and shoot and share!
Plus each month as a bonus, I go live where I answer questions or just generally chat about photography on something that our students would like a bit of input on.
Now if you are a student and you’re not in the group, go and get in there now, I’d love to meet you! Just go into your course that you are a student of, and right there in the welcome module is your invite to join the group.
(And if you are not a student, but would like to join the group, then becoming a student is the way to get in there! Go to our courses page and buy anything on that page to get an invite to join)
But back to today’s podcast episode, where I’m answering a question in the Live Q&A call that went like this:
“Audrey, I have trouble picking and choosing what photos to delete. I want to just keep my best shots but I find it hard to let some go. I’m talking personal photos here and also wildlife, landscape photos. I feel like my photos are somewhat of a journal. I just know I can’t go on taking photos and not deleting more! Curious as to how you decide what photos to let go and what ones to keep”
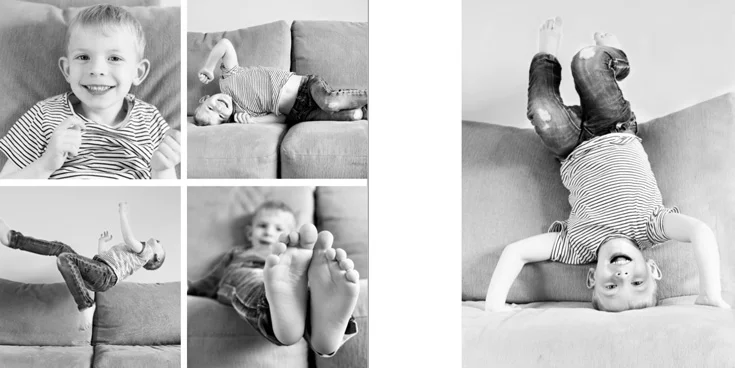
So this is a great question, and overshooting and having more photos than I needed and having 10 photos of the same thing was something that I was really guilty of back in the early days of my photography journey!
I would simply take a lot of photos, sometimes several photos of the same thing, and I would end up with, images cluttering up my hard drive that were essentially the same photo over and over again, but with tiny little differences.
And I would spend a long time having to call my photos and decide which ones to keep and which ones should go!
Thankfully over the years, I feel I've managed to fine tune my process - it's not ideal, but I come back with much less photos in the first place, and when I'm culling, I'm much more intentional about which ones I keep and which ones I get rid of.

Step #1 - Shoot With Intention
I’m not just thinking about which photos to keep and which ones to to get rid of just in my computer AFTER the shoot.
Instead, my goal is always to shoot more intentionally and stop overshooting so I don’t come back with a memory card filled with 10 variations of the same picture!
When I'm doing this, I'm first thinking about the end destination, and why am I taking these pictures and what am I going to do with them.
For example, am I here to document a moment in time? Is it to tell a story? Am I going to put them in my family photo books? Is it a photo that I want to frame on my wall? Is it just because I love seeing the beauty in something, and I want to capture that and remember that moment?
So thinking about why I'm taking the photo and the end destination for it helps me when I'm shooting.
I have different frameworks that I created to shoot to depending on the purpose and subject.
One is called the IMPACTS shooting framework, which is something that I use when I am trying to tell a story or document an event.
It really helps keep me on track to know which photos to take, to make sure that I tell the story in a cohesive way, and that I have a wide variety of pictures that help me to do that.
If I'm shooting more portraits, either to hang on my wall or for someone else, or I'm photographing an item, see a flower, then I use what I have called the RIPPLE framework.
And, again, this just helps me take a variety of photographs of the same thing so that I have a number of photographs to choose from, but they're not 10 of the exact same thing!
So both of these frameworks really help keep me on track to make sure that I get a wide variety of photos in the first place and that I don't overshoot.
Now I've actually included both of those shooting frameworks in my Auto to Awesome program.
If you are already a student, just go into the course and in module 6, all on composition, you'll find them there along with cheat sheets that you can download to help you remember them.
If you're not a student, you can go and find out more about Auto to Awesome here!

Step #2 - Get Rid of “Bad” Photos First
Once I have uploaded my photos and they're in Lightroom Classic (which I have as part of the photography plan from Adobe) then I then start my culling process.
I go through the images once with my gut reaction.
So in that first pass, I'm really getting rid of all of the photos that are “bad”.
There are maybe some that are out to focus, maybe somebody's eyes are closed, or I the photo is just not very interesting!
I actually delete all those photos immediately. There is no point in them cluttering up my drive!
This helps by removing the deadwood so you now you are only looking at good or great photos!

Step #3 - Look for the Great Photos!
The next stage is where I go through them and look for the ones that are GREAT.
So there will always be photos that you just love in any shoot, regardless of what it is, whether that's your documentary style photos, whether that's photos of a bird or macro photos or portraits, you'll go through and you'll think that one is a keeper.
There's something about the light or the expression or the moment or the movement that takes that photo and elevates it - in other words, it’s a 5 star photo.
So I do actually mark those as 5 stars or I can mark them as a pick depending on the process you have.
And then what you're left with is this range of photos that aren’t bad enough to be bad photos, and they're not good enough to be there in the great pile. They’re middle of the road photos, and these can sometimes be the hardest to decide on.
Which leads me onto Step 4!
Step 4: Back to my Shooting Frameworks!
This is where I go back to my shooting process because now I'm thinking: what is the end destination for these photos? Do I just want a photo for my wall? Do I want to create a spread in my photo book?
So I'm thinking about that, but I'm thinking about that same shooting frameworks that I used when I was there shooting in camera.
Let me give you an example of that.
So let's say that I am shooting for my family photo book, and I'm documenting a day at the beach.
I know that I've gotten rid of all those bad photos, and I have all of my great ones, but I want to round those out and tell the story of the day.
So now I'm looking at my shooting framework that I use, and I am creating that spread of photos that help tell the day.
As these are for my family photo books, I know that I don't really want any more than 12 photos.
So I'm sticking with my IMPACTS shooting framework, which gives me at least 7 photos, and then I can add in a few more that takes me maybe to my 12 or I stick there with my 7.
And that really helps me narrow them down because I don't need 5 photos essentially showing the same thing! I need to narrow each element down to 1 or 2.
In other example, maybe I’m taking a macro photo of a flower, and I want to put that on my wall.
Well I only really need one great photo! But I might want to keep some of the other ones, so again, I look to my RIPPLE shooting framework, and I get rid of any images that are very similar.
I just have to make choices about which photo is best, and it might come down to a small thing, like the composition, or that the light was slightly better in one than another, or that one has slightly more focused than the other one when I zoom in and look at them.

How this differs for paid sessions…
Now if I were shooting a paid session for a family, for example, then I am going to end up with more than 12 photos! Instead, I'm going to give them several from each option to choose from.
But, again, I've still been using my Ripple shooting frameworks, so I'm not going to give them 20 photos of essentially the same thing!
And I’m going to narrow it down for them - I'm not going to make them choose between 10 different photos of them in basically the same pose, but with slight differences.
I am going to narrow that down and give them 2 or 3, full body ones, and then 2 or 3 half body ones.
Really, it’s the same thing, but I’m giving them a wider choice so they can decide which of those they prefer. Sometimes they'll see something that they don't like about themselves that we wouldn’t even consider, or they might really like expression on their child because it just melts their heart in a way that we don't have that emotional reaction to.
So, definitely, when you're doing this for clients, you're going to have a wider range of images but you can still use that same principles.
Now don't forget, you can get the shooting frameworks that I've mentioned inside Auto To Awesome if you are a student - just go into the course and grab them.
If you're not a student and you are interested in learning more about how to shoot in manual mode, how to use the available light for beautiful photos, how to use composition, get tack sharp images every time. Then do make sure that you check out Auto To Awesome because it teaches you how to do all of that and more!
Hope you enjoyed this post, and I’ll see you again same time, same place next week.