
Practical Tips for New Newborn Photographers
Whether you’re planning to take photos of your own newborn, or dipping your toes into the world of newborn photography, there are some basic tips that will set you up for a successful and relaxed session.

Preparing for the Session
1) Parent Communication
Newborn parents are generally sleep-deprived and stressed out for the first weeks of their baby’s life. Make sure that this newborn session doesn’t add to their stress!
Before the session, let parents know how you want them to prepare for the session, and what to expect during the session. Think about the questions they may have: when should we feed our baby, how do we dress our baby, what should we wear, how long will the session last, can we bring our other child, etc. Then answer those questions for them before they even know they have them. That’s great customer service!

2) Plan the Session
When you don’t have a lot of experience in newborn photography, it is easy to get flustered or tripped up during the session.
It’s a good idea to map out the flow of the session before the time. Think about which poses you will attempt, and in which order. Decide which blankets, outfits, headbands, props, etc. you will be using for each setup. Even better - print out a visual guide showing all the different poses. This will be super helpful to see the next setup at a glance and keep you on track.
Studio Setup Tips
1) Start with a Warm Space
Warm babies are sleepy babies! Newborns are used to the body temperature of their mama’s womb, so crank up the heat in your studio space to around 27C/80F for your session. You will be hot and sweaty, but it will give you the best chance of having the newborn fall into a deep sleep needed for posing.
On the topic of heat - the quickest way to wake up a baby is to use cold, wet, wipes on them. I simply use hand towels and receiving blankets to wipe up messes - it’s much less jarring on baby’s bottom.
And be sure to warm up your hands too before and during the session. Running your hands under warm water will do the trick quickly.
2) White Noise
The more you can recreate the environment that the baby had in the womb, the more settled they will become. It is noisy in the womb, and so babies respond really well to white noise. There are several white noise apps you can download on your phone, or purchase the standalone “Baby Shusher” that produces a shushing white noise sound.

3) Basic Gear and Equipment
Other than your camera and a lens (I most often use my 50mm or 24-70mm lenses in studio), you only need a few basic supplies for a successful newborn session.
A posing beanbag, or a similar firm surface to pose baby on
A blanket or piece of fabric that baby will be posed on - bonus if it can be stretched tight to avoid wrinkles
A backdrop stand, or something like the backs of chairs that will allow you to create a slightly elevated backdrop with your fabric or blanket
A simple stretchy wrap to wrap baby - a long 18” wide piece of fabric or even a scarf will work
A prop like a basket, box, or bowl that will allow you to place baby on their back inside the prop - at least 12” in diameter is a good rule of thumb
I touch on these basics in more detail in this blog post: 6 Essentials to Get Started with Newborn Photography
Practical Session Tips
1) Keep posing simple
When you are just starting out with newborn photography, it is best to start with a few simple poses, practice those, and master them, before moving on to more complex poses.
I suggest your first three poses to be the side lay, overhead tucked in, and wrapped in a prop.
Side lay - even though the pose is simple, just baby laying on its side on a beanbag, there are so many things you can do to add variety. You can change baby’s hand positions, like tucked in under their cheek, or on top cupping their cheek.
You can also add and change clothing, wraps, headbands, and bonnets for variety. In addition, simply changing your angles, and varying between close ups and overall shots, can fill up a gallery all by itself!


Overhead pose - here baby is on their back with a wrap or blanket covering them from the chest down, and the shot angle is from over the baby. Once again, you will get a variety of shots by changing the position of baby’s hands, adding a little stuffed toy, or adding different hats and headbands.


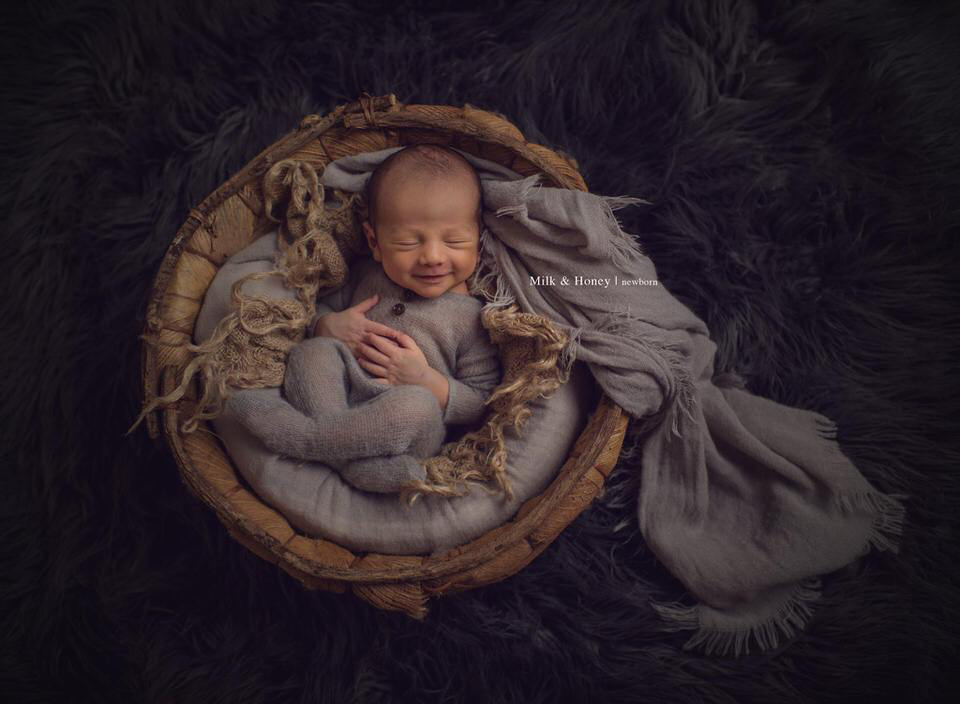
Wrapped in prop - use a box or bowl that is stuffed with blankets and/or layers, and simply lay down wrapped baby on their back in the prop. Once again, shooting from different positions will add some variety to this simple setup.


2) Watch the light
Lighting for newborn photography is a deep-dive topic all by itself, but if you can remember to angle the light (studio or natural) at a 45 degree angle flowing down baby’s head, you have a head start. The biggest mistake you can make is letting the light flow up the baby’s nose, so pay attention to the direction of your light.
You also want to make sure the light source is large (large window or large softbox/umbrella) and soft (use sheers or a shower curtain in front of a window, or proper diffusion fabric with a softbox).

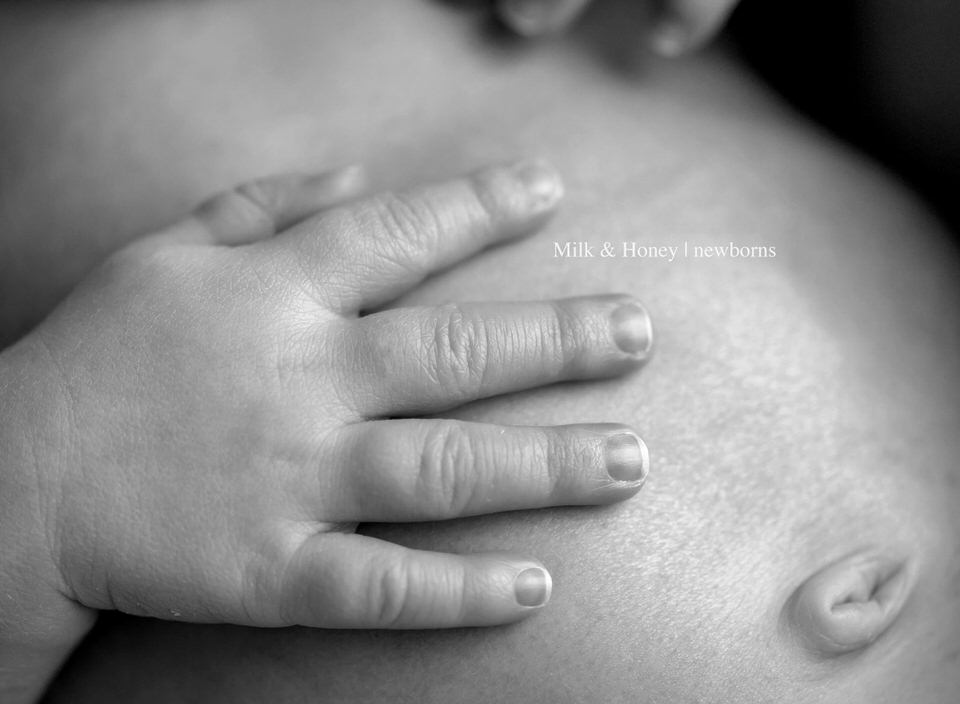
3) Respect the baby
A newborn is a person like any other, and should be treated with the same respect. Stay in tune with this little person and their needs. This means that you should listen to their cues, especially when it comes to posing. If a baby does not want to bend into a specific pose, you should not fight it or force it - simply move on to something different.
This also means that you know when to quit. At some point, newborns are going to have had enough of being handled and moved and adjusted, and they will let you know. Listen to that.
4) Be patient and take breaks
We all get little ones who are non-sleepers at some point. Realize that it may take 30 minutes or more just to get the baby to sleep. Be patient and ride it out. Chat with your clients, get to know them and create a relaxed atmosphere while you wait for the baby to settle, as babies will be quick to pick up on nervous energy and will be awake for even longer.
And if all fails and the baby doesn’t sleep, embrace that too! Wrap them up snugly, and take gorgeous awake photos that parents will love just as much as the sleepy ones.
It is also perfectly normal to take lots of breaks to top up baby with milk. Sometimes, when I feel like I have moved baby a lot, I give baby a few minutes to just relax and fall into a deeper sleep before I start posing again.

Baby Safety During Sessions
Baby safety is important enough to get its own category.
The photo is NEVER more important than the child. Period.
Parents are putting their most precious newborn baby in your hands and trusting you to keep them safe. That is no small responsibility. Everything you do in preparing for the session, and during the session, should be done with baby’s safety and comfort front and center in your mind.
1) Spotters
It is not uncommon for newborns, even fast asleep ones, to make sudden movements strong enough to have them roll out of a pose on the beanbag or tip over in a prop. It is thus very important to have a spotter right next to the baby who has their hands on or very close to the baby while you are photographing. Ideally, you’d want an assistant trained in newborn photography, but a parent can also help as a spotter if you give them clear instructions.
You also need a spotter if you are taking sibling images - toddlers are especially unpredictable, and there should be an adult with their hands on the baby all the time when posing with siblings.

2) Neck straps
Your camera strap should be around your neck whenever you are positioned above the baby, whether photographing on the beanbag, or in a prop. If you were to stumble or have your camera slip from your hands, you want to make sure it doesn’t land on the baby.
3) Props
Before putting a baby in any prop (buckets, bowls, boxes, etc), inspect the entire prop thoroughly and make sure there are no sharp edges, splinters, nails, rust or the like that can injure the baby. Babies should never be posed in anything made of glass.
Also be sure to add weights to the bottom of your props (under the blankets/stuffers) to act as a counterweight to the baby. Because you are usually posing baby in the top part of a prop, the entire prop can topple over if it is not weighted down properly.
4) Complex poses
The safest suspended poses (that look like baby is hanging from something), are those that are not actually suspended at all, but simply shot and edited to look like it is. Same goes for poses with baby lying on top of objects, like a motorcycle, guitar, etc - these should always be composite images created in Photoshop. Never hang a baby from any distance, and never balance a baby on top of anything. If you don’t know how to do composite images, these poses should not be attempted.
5) And above all, be patient with the process (and yourself).
I hope that you will give yourself grace in this process of learning and experimenting, knowing that even the best newborn photographers had to start by doing their first ever session!
It is only through perseverance, practice, and constantly educating yourself in your craft, that you gain skills and confidence in your art and your work. Being a skilled and safe newborn photographer is well within your reach!


