
Macro Photography Settings, Tips & Ideas!
Today we are diving into macro photography settings, tips and ideas!
If you have been meaning to try out macro photography for a while, or you’re just curious about which settings to use, then you will love today’s post!
When I first started out in photography, my favourite subjects were without doubt my son and my family life - I wanted to capture as many memories as possible, to freeze a moment so that I could look back on it in the years to come. And whilst this is STILL my absolute favourite form of photography, I’ve discovered another that brings me equal joy, but just in a different way: macro photography.
Even though it presents it’s own unique set of challenges, I find macro photography to be quite relaxing, calming and even a little bit therapeutic - which is exactly what I think we all need right now with all the uncertainty and anxiousness in this unique time in the world.
Before we dig into the macro photography settings, tips and ideas I have for you, let’s first get a bit o’ background on macro, and what you need to take macro photos.
(You can also get all the info in this post - and more -in our FREE Macro Photography Starter Guide, so be sure to download that if you want to keep the ideas and info in this post for reference!

What is Macro Photography?
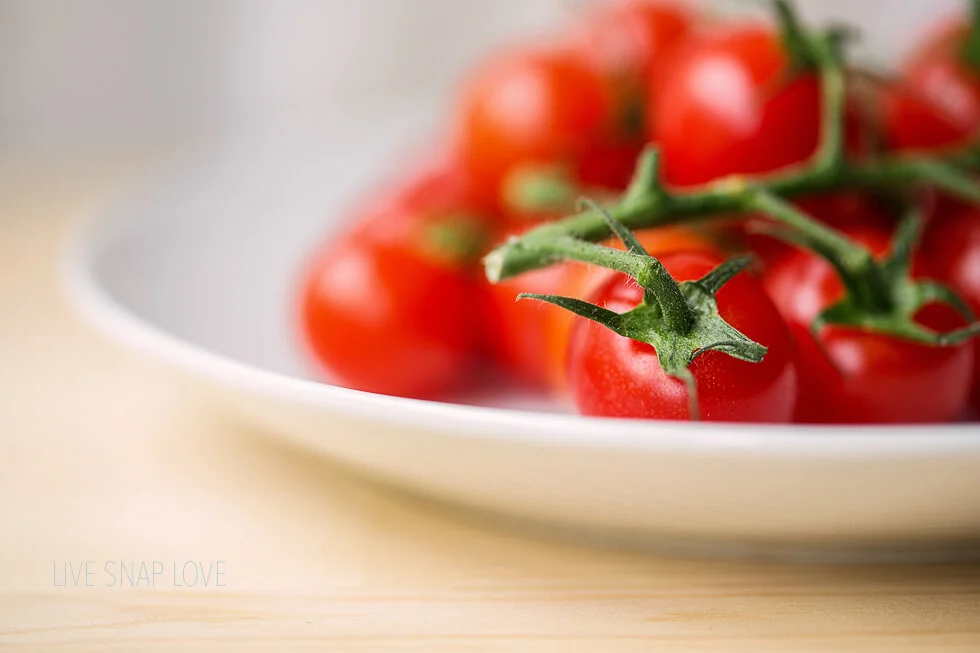
Simply put, macro photography is when you photograph something close up to capture the minute details. Although a lot of people capture insects and bugs, macro photography can be of ANYTHING - flowers, candy, food, oil etc etc.
If you use a true macro lens, it will focus to a magnification of 1:1 - which means the sensor rendering is life-size.
This does mean that ideally, you will want to use a special type of lens for macro photography (called, funnily enough, a macro lens) which can be quite expensive, but you can also get started by using extension tubes or close up filters, which is far more wallet-friendly if you are just getting started.
You can learn more about each one, and what to look for (and avoid!) in our FREE Macro Photography Starter Guide too :-)
Do I NEED a macro lens?
If you don’t want to purchase anything to try out macro, then you absolutely can!
All you need to do is take your existing lens and turn it around. By reversing the lens and holding it in place to your camera body, your focusing becomes incredibly close, and will give you the magnification you need to take macro photos with what you have.
The only downside is you do need to hold the lens in place in front of the camera, which can be awkward, although you can buy also buy a reversing ring that will fix the lens to your camera.
(Please note that you will need to buy a reversing ring that matches your lens thread size, so be sure to check that before you order!)
The second option is to buy extension tubes. These fit onto your camera BEFORE you thread your lens on to give you greater magnification from your existing lens. Again, search for one that fits your camera model, as these will vary.

Macro Photography Settings
Let’s turn our attention now to our macro photography settings, and look at which aperture, shutter speed and ISO numbers you are going to need to use for macro photography.
This is just an overview, because getting your settings right is a huuuuge area of macro (and we have a whole lesson on it in our macro photography workshop “Everyday Macro Magic”!)
If you are new to photography, or just want a little refresher on each of these before you dive in, be sure to check out this post on the exposure triangle, otherwise nothing else you read here will make sense!
APERTURE
The most important setting in macro photography, without doubt, is APERTURE.
That’s because your depth of field is SO damn shallow with macro photography, that you need to make sure that you use a small aperture in order to get everything you want in focus.
Now if, like me, you normally shoot kids, lifestyle images and portraits, you probably find yourself shooting at F stops around F1.6 - F4.5.
But with macro photography, you need your aperture to be somewhere around f5.6 -f16. That’s because most of the time you will find yourself needing to close up your aperture more than this, or you won’t get the focus you need (and you NEED sharp focus with macro!)

SHUTTER SPEED
The side effect of using that small an aperture is that you will get much less light into the camera via your aperture, which means that your shutter speed is going to need to be slower in order to get the required light into the sensor.
If you are hand holding the camera, then be aware you don’t want your shutter speed to drop below 1/60 - and that’s only if you can brace yourself and are good at holding yourself steady. (I personally stay nearer 1/100 because I have shaky hands!)
If you need to use even slower shutter speeds, then you can use a tripod, which allows you to use slower shutter speeds than you can get away with than if you were handholding the lens. (and if you are going to use VERY slow shutter speeds, consider using your timer to fire the shutter!)

ISO
The final fellow in the exposure triangle is ISO - and you are probably going to have to use higher ISO numbers than you normally would. Again, this is due to using that smaller aperture, which is letting much less light into the camera.
The important thing to keep in mind here is that using high ISO numbers introduces noise and grain into your images, so try to keep this ISO number as low as absolutely possible!
(Although you can easily get rid of noise and grain especially if you use Lightroom Classic!)

Macro Photography Tips
Now that we have our macro photography settings down, let me give you some general tips for macro photography…..
Tip #1 - Get into the LIGHT
Light is everything in ANY image, and this is also true of macro photography!
The biggest challenge with macro is that by using these smaller apertures, you are letting less light into the camera. So if your subject is also in dim lighting, then you are adding to the problem!
So if you can, take your subject and move it much physically closer to a natural light source, such as a larger window or door, or even take it outside!
If you can’t move your subject, and you are struggling to get enough light, you can buy special macro ring lights that thread onto your lens to add extra light, or you can even use a continous lighting system. I have neither of these things as I use natural light all the time, so they are definitely NOT an absolute requirement, but if you find you are struggling with light they are something to keep in mind.

Tip #2 - Use Manual Focus
You may find that just by being physically closer to the subject it can make it difficult for your lens to auto-focus, so if you find that your lens is constantly "hunting" but not latching on to the area you want in focus, then consider switching your lens to manual.
You’ll see a little switch to the side of your lens which says AF/MF - just switch the lens to MF. Then simply move the ring out of focus, then move it until the area you want appears sharp and clear. When using manual focus, a tripod is very handy as just the movement of your body can shift focus!
(Again, there’s a whole lesson on focus in macro photography in Everyday Macro Magic!)
Tip #3 - Zoom into 100%
Sharpness is critical in macro photography, so always preview the image on your camera LCD and zoom in to 100% to check the focus. There’s nothing worse than getting your image into your computer and realising it is just that slightest bit soft, which is the death knell to your macro photo.
Tip #4 - Move Around Your Subject
One of the wonderful things about macro photography is that (unless you want to shoot bugs etc) your subject ain't going anywhere! Really take your time to move around your subject and shoot from different angles - from above, parallel to your subject, or along the length of it - you can get some really interesting and unusual shots just by changing your vantage point!
Macro Photography Ideas
The beauty of macro is that beauty or an interesting shot can be found just about anywhere, and you are limited only by your creativity! But here are some ideas to get you started:
Oil & Water Macro
Just grab a clear casserole pan or bowl, and fill it with water. Then add a little bit of oil (any type of oil like Olive Oil or Canola Oil!) and you will see some interesting patterns start to emerge!

Carbonated Fruit
For this, grab yourself a clear rectangular or square vase, and fill it to the brim with a clear carbonated liquid like soda, fizzy water, or even Sprite (although that last one is a bit sticky and messy!) and get photographing!

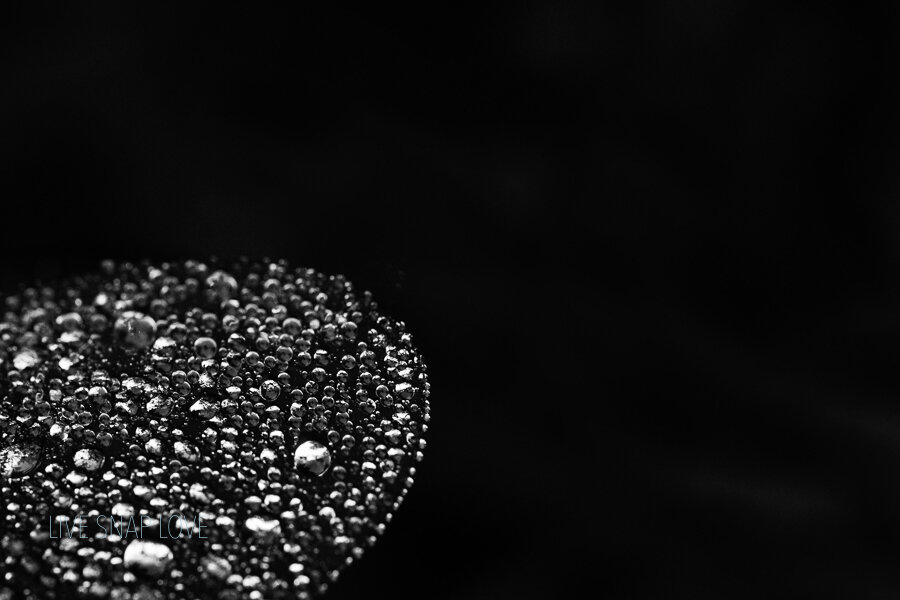
Water Droplets on Leaves
This one is super simple! Go outside and find yourself a leaf or flower that you think looks interesting. If it is has already been raining, then you are in luck as there will already be water droplets there! If not, I have a spritzer that I fill with water and spray this onto the leaves to create water droplets.
Don’t forget if you’d like to like some help getting started on your macro photography journey, be sure to download our FREE Macro Photography Starter Guide, where I'll break down some essentials for getting started with macro, from the equipment you’ll need (less than you think and with some inexpensive options!) tips and ideas for finding subjects advice on choosing the right camera settings, and more! Let's get you on the road to beautiful macro photography today, shall we?!