
9 Photography Ideas for Beginners
Stuck at knowing what to photograph? Then these 9 photography ideas for beginners will give you some inspiration, AND help improve your photography skills at the same time! #winwin
I know when you are new to photography it can be challenging knowing what to photograph, or understand some of the different ways you can photograph the same thing. That's why I've pulled together this list of 9 photography ideas for beginners that I think are easy enough for those just starting out to do, but that will also still challenge you to take better photographs!
You certainly don't have to do ALL of these, so just take a scroll down the list and choose the few that interest you, or those that you haven't already tackled.
You might also want to bookmark this page for later, or better yet, pin it to your photography boards on Pinterest so you can find it again when you need it!
Before we dive in, I do want to let you know that for many of these, you are going to need to take control of the camera in order to get different results.
How much will vary, but you are going to be controlling either the aperture or the shutter speed, as those two settings will give you the greatest creative control!
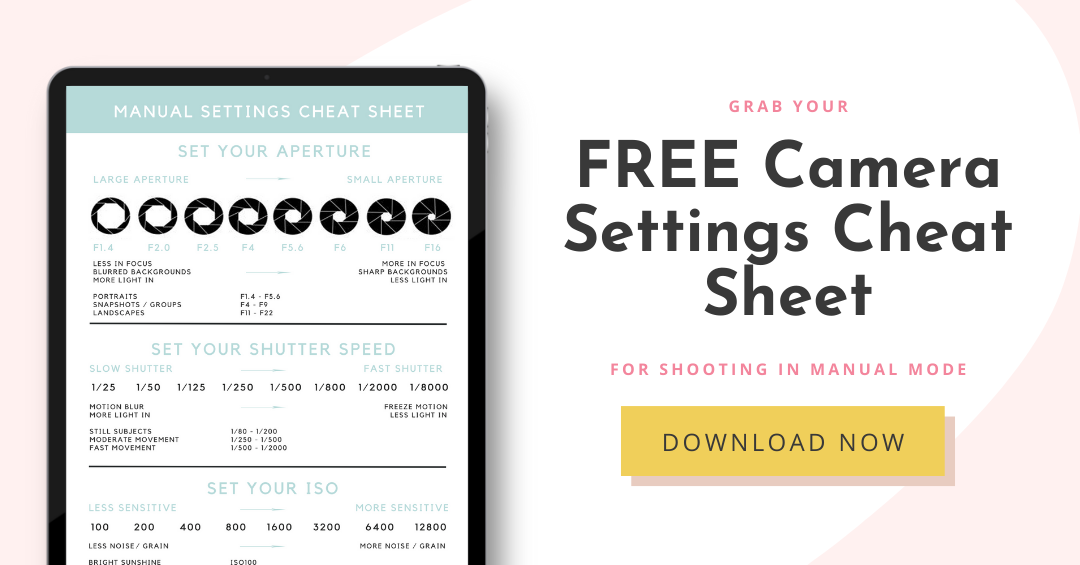
I know it can be overwhelming to do that at first, so I do have a camera settings cheat sheet that goes along with this post, that shows you which aperture, shutter speed and ISO settings to use in different situations, so I do recommend you go grab that!

1. Get Blurred Background
Let kick things off with something simple, but that does immediately give your images a more polished and professional look to them.
Blurring the background is an excellent way to bring attention squarely to your subject, so it is used a lot in many different forms of photography. Plus, you can do this with any lens that you have, so you don't need any fancy equipment to do it!
The trick here is to make sure that you’re using a large aperture (small F number) in order to create a shallower area in focus, and make the background all nice and blurry!
Just be careful to choose the right aperture number if you have more than one person in the frame, as you do want to make sure that your subject is tack sharp, and it’s just the background that’s blurry!
(If you’re not too sure on what camera settings to use when, you can of course download our free camera settings cheat sheet that will help you with this!)
If you’d like some more tips on how to maximise that blur, then be sure to read this tutorial How to Get a Blurry Background in Photography.
2. Use the Rule of Thirds
Another way to add more interest to your images is to use a photography composition tool called the rule of thirds.
All you need to do is imagine that your image is divided into nine equal sections, with two horizontal lines, and two vertical lines (as shown over the top of the image below) Our eyes are naturally drawn to the points where these lines intersect, so if you place a point of interest there, it makes the photo more appealing.

3. Starbursts
Getting a starburst is yet another photography idea that is great for beginners, and again, it's simple to do but gives a great effect to your images. You can do this with ANY source of light, for example, the sun, or a streetlight, so you are only confined by your imagination!
You can see an example of this starburst affect in the image below.
To get this yourself, photography anything that has a point of light, and simply use a smaller aperture (larger F number) - something like F22 is ideal.

4. Simple Window Portrait
All you need to get gorgeous portraits is a large window with some natural light coming in (although NOT direct sunlight) and preferably, an uncluttered background!
If you are just starting out, then you will find it easiest to have your subject face into the light (so you as the photographer have the window at your back) as this will bring even light onto the face, soft creamy skin, and beautiful catchlights. Plus you don’t have to worry about where the shadows are f
As this type of light (“flat light”) is not the most dramatic, when you are a bit farther along in your journey, move your subject sot that the window is at the side. This helps add more shadows to the face, which in turn help give it more depth and dimension.
5. Shoot from Above
We can sometimes get stale in how we take photos, because we are always taking them from the same angle, so why not switch it up a bit? It's great way to get a more unusual viewpoint and therefore add some interest to your images!
Shooting from above always helps create an interesting photo, because the birds eye view is not something that we usually see. And of course, it's super simple, just get above your subject and shoot down!
If it's sunny where you are, it's also a great way of being able to photograph shadows, which is another way to add an interesting twist to your photos.

6. Negative Space
Composing an image with negative space can be a great way to add a more artistic feel to your images - and the best news is it is simple to do, and you don't require any vast photography knowledge to complete it.
Negative space is simply an area of "empty" space around the subject of your image. This empty space doesn't need to be completely neutral, but you do want one that doesn't draw your eye away from your subject.
This image below has negative space, in this case just simply a black background, and it helps create a feeling of space in your image, and a feeling of calm too. Try it out!

7. One Subject: 10 Ways
This classic artists exercise is a great one beginners (but even for when you get more advanced and you need to kick start your creativity!) because it is simple to do, yet challenging.
All you need to do is take ONE subject, and photograph it is TEN different ways. It does need to be completely different ways, so have a think about how you can use different angles, light, colour and even texture to create different photographs. (Want to see an example of this? Then head over here to see the classic creativity exercise in action!)
Please don't spend stuck trying to choose an item, it really only needs to be a simple, everyday object. (And if you just want me to tell you what to use, then use the classic EGG!)

8. Silhouette
Silhouettes are a great idea for a photograph if you are little more advanced. You do need to take control of the camera yourself in manual mode to get one of these (at least intentionally!) but they are worth it - and I promise that manual mode is not as scary as you might first think!
Rather than list of all the steps to get a silhouette, you can go here and read exactly how to do it, step by step.
You DO need to be shooting in manual mode for this, as you might not get the look you’re going for otherwise! Manual mode is when you control all 3 aspects of exposure - aperture, shutter speed and ISO - so that you get exactly the look you want.
And yes, you’ll get advice on all three settings in our cheat sheet!
9. Motion Blur
How about actively trying to capture motion blur? It's a great way to get an interesting image AND learn about shutter speed at the same time. Motion blur is when you add blur to the areas of the subject that are moving - you can see it in the fidget spinner below (My son's latest obsession) - where you can SEE the movement of it going round.
Again, this isn't too terribly tricky - all you need to do is make sure that you remain absolutely still, and that you choose a shutter speed that will allow you to get motion blur on your subject.
I have a full step by step guide on how to do this on this post how to photograph movement with motion blur, so head on over there to get all the steps and some suggested shutter speeds.

So, there you have it - 9 photography ideas for beginners that aren't TOO complicated to do when you are starting out, and that will help you improve your photography skills!
WANT MORE? CHECK THESE OUT!
How to Choose Your Camera Settings in Manual Mode
A Step by Step Guide to Shooting in Aperture Priority Mode
4 Ways to Make Your Photos Look More Professional
How to Blur the Background in Photography
How to Use Open Shade in Photography
Over to you!
Although these ideas are great to start with, I’d also encourage you to learn the skills behind taking these photos!
Get started today by taking control of your camera and choosing either the aperture, shutter speed or ISO yourself - or better yet, all three! Go forth and download the free camera settings cheat sheet for advice on which numbers to use when.
As always, don't forget to share the goodness by pinning this post, or just sharing with your friends. Both they and I will thank you for it!